One of the advantages of buying a ductless mini-split is that it is so much easier to install compared to the other types of air conditioner units. While installation is certainly simpler, professional installation is still recommended to ensure proper ventilation and performance throughout the years. Nevertheless, some homeowners opt to go down the DIY route by installing their ductless mini-split system. If you are planning to do the same, the following are the steps you need to be aware of.
For help selecting the right ductless air conditioning system and professional installation in the greater St. Louis area, contact the heating & air conditioning experts at Galmiche & Sons today!
Installation of the Ductless Mini-Split Indoor Unit
- Collect the tools you will need. For the installation, you need to have the following: torque wrenches, vacuum pump and gauge, clamps, electrical and insulating tape, drill, tapping screws, flange, and polyurethane foam.
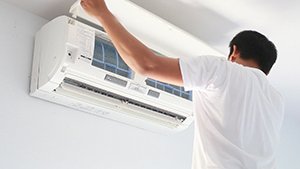
- Choose an interior wall that is strong enough to hold the weight of the unit. Drill holes to install a mounting plate at least seven feet above the ground. Insert plastic anchors in the holes to secure the mounting plate.
- Drill a 4-inch hole for the refrigerant line to pass through. Choose placement so that when the line is installed, it will be sloping downward to the exterior wall to ensure proper drainage. Insert a flange in the hole.
- Run the refrigerant line from the indoor unit though the drilled hole, and then do the same thing with the PVC pipe. Place a pipe cap at the interior end of the PVC pipe and mesh both lines together using electrical tape.
- Connect the pipes to the indoor unit. Then, place the ductless mini-split unit in its mounting plate.
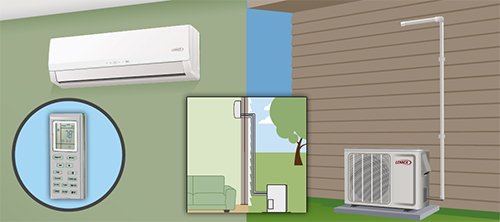
Installation of the Ductless Mini-Split Outdoor Unit
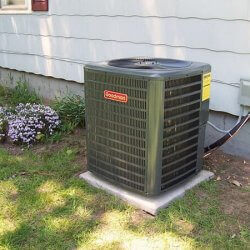
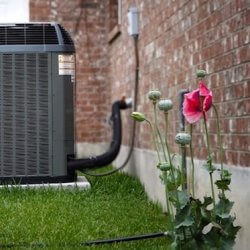
- Choose the best location for the outdoor unit, where it won’t be exposed to snow, dirt, and debris. Put some rubber cushioning on the ground and place the outdoor unit on top of the rubber pad.
- Remove the cover of the condenser unit, connect the electrical wires, and secure the cables with clamp. Put the cover back on.
- Secure the pipes’ flare nuts to the pipes on the outdoor unit.
- Remove humidity from the refrigerant lines by attaching a vacuum pump hose on the service port. The reading on the hose should be 10mm Hg.
- Remove the vacuum pump, replace the caps, and check the valves and joints for leaks.
- Wrap the joints with insulating tape and secure the lines to the wall with clamps. Lastly, seal up the hole with polyurethane foam.
Professional Ductless Mini-Split Installation is Still the Best
If these instructions prove to be too complicated or if you are unsure of any steps, it is best to call an HVAC professional to work on the installation of your ductless mini-split. In fact, we strongly encourage you to have a professional do the installation work. The ductless mini-split installation process requires the skills and tools of a professional, which the average homeowner does not have.
Since a ductless mini-split is quite a hefty investment, you should protect it by making sure it is properly installed. Improper installation may cause the new system to malfunction right away, and could even create a fire hazard in your home or place of business.
If you want top-notch installation service throughout the St. Louis area for your newly purchased ductless mini-split unit, contact the heating & air conditioning experts with years of experience at Galmiche & Sons today at 314-993-1110.
